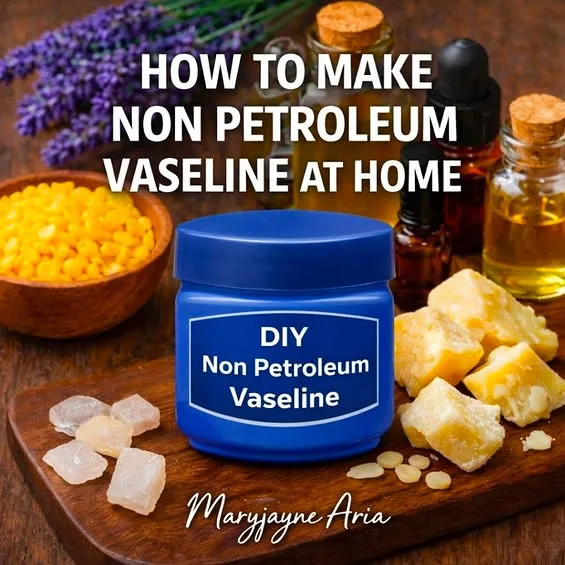
Vaseline has been sitting in bathroom cabinets for generations. Used on lips, skin, babies, wounds. But very few people stop and ask what it actually is.
Petroleum jelly is a by product of crude oil refining. It is derived from the same source as fuel and industrial lubricants.
Today we are going to look at why many people choose to avoid petroleum based products and how to make a clean, plant based alternative at home.
Why Some People Avoid Petroleum in Skincare
1. It is an occlusive barrier only
Petroleum jelly does not nourish the skin. It creates a physical seal that prevents water loss, but it does not provide vitamins, antioxidants, or essential fatty acids.
2. It traps impurities
Because it forms a tight barrier, it can trap sweat, bacteria, and debris underneath. On compromised or acne prone skin, this may worsen congestion.
3. It does not support skin function
Healthy skin thrives on nutrients such as vitamin E, phytosterols, and fatty acids. Petroleum contains none of these.
4. Environmental concerns
Petroleum is a non renewable fossil fuel. Many people prefer plant based materials that are biodegradable and sustainably sourced.
5. Skin suffocation debate
While petroleum is considered non comedogenic in laboratory conditions, some individuals feel it prevents the skin from breathing comfortably. Sensitive skin types often report better results with botanical balms.
Now let’s create something better.
Plant Based Petroleum Free Balm
Makes approximately 120 ml or 4 ounces
Ingredients by Weight and Volume
• Beeswax pellets 28 grams, approximately 2 tablespoons
• Shea butter 28 grams, approximately 2 tablespoons
• Cocoa butter 28 grams, approximately 2 tablespoons
• Cold pressed castor oil 30 ml, approximately 2 tablespoons
• Jojoba oil 15 ml, approximately 1 tablespoon
• Vitamin E oil 5 ml, approximately 1 teaspoon, optional
• Essential oil 3 to 5 drops, optional
Equipment Needed
• Digital kitchen scale
• Heat proof glass bowl or measuring jug
• Small saucepan
• Wooden or silicone spatula
• Thermometer optional but helpful
• Clean 120 ml glass jar with lid
Step by Step Method
Step 1
Weigh your beeswax, shea butter, and cocoa butter using a digital scale. Accuracy helps achieve the correct texture.
Step 2
Fill a saucepan with 3 to 5 cm of water. Bring to a gentle simmer. The water should be hot but not rapidly boiling.
Step 3
Place the glass bowl over the saucepan to create a double boiler. Make sure the bottom of the bowl does not touch the water.
Step 4
Add beeswax, shea butter, and cocoa butter into the bowl.
Step 5
Allow the mixture to melt slowly. Stir gently every 1 to 2 minutes. The mixture should reach approximately 70 to 75 degrees Celsius to fully melt the beeswax.
Step 6
Once completely melted and clear with no solid pieces remaining, remove from heat.
Step 7
Add castor oil and jojoba oil. Stir thoroughly for at least 60 seconds to ensure even distribution.
Step 8
Allow the mixture to cool slightly to about 50 to 55 degrees Celsius. This prevents degradation of vitamin E and essential oils.
Step 9
Add vitamin E and essential oils if using. Stir gently but thoroughly.
Step 10
Immediately pour into a clean dry glass jar.
Step 11
Leave uncovered at room temperature for 3 to 4 hours until fully set. Do not refrigerate during setting as this can cause uneven texture or graininess.
Step 12
Once solid, secure the lid. Label with the date of production.
Texture Adjustments
For a firmer balm
Increase beeswax by 5 to 10 grams.
For a softer balm
Reduce beeswax by 5 grams or increase castor oil by 5 to 10 ml.
Shelf Life
Because this formula contains no water, bacteria growth risk is minimal. Store in a cool dry place away from direct sunlight. Shelf life is approximately 9 to 12 months.
How to Use
Apply a pea sized amount to clean dry skin.
Use on lips, cuticles, cracked heels, elbows, minor dry patches, or as a barrier cream.
Can be used overnight as a heel or hand repair treatment.
Safe for most skin types. Always patch test first.
The Bigger Picture
Skin is living tissue. What we apply matters. Choosing plant based ingredients supports the skin barrier with nutrients rather than simply sealing it.
Making your own balm gives you full control over sourcing, purity, and quality.
Your skin will feel the difference.
Written by Maryjayne Aria
FEEL FREE TO FOLLOW ME
SHARE FROM MY PERSONAL PAGE
SHARE THIS POST